
Collections
-
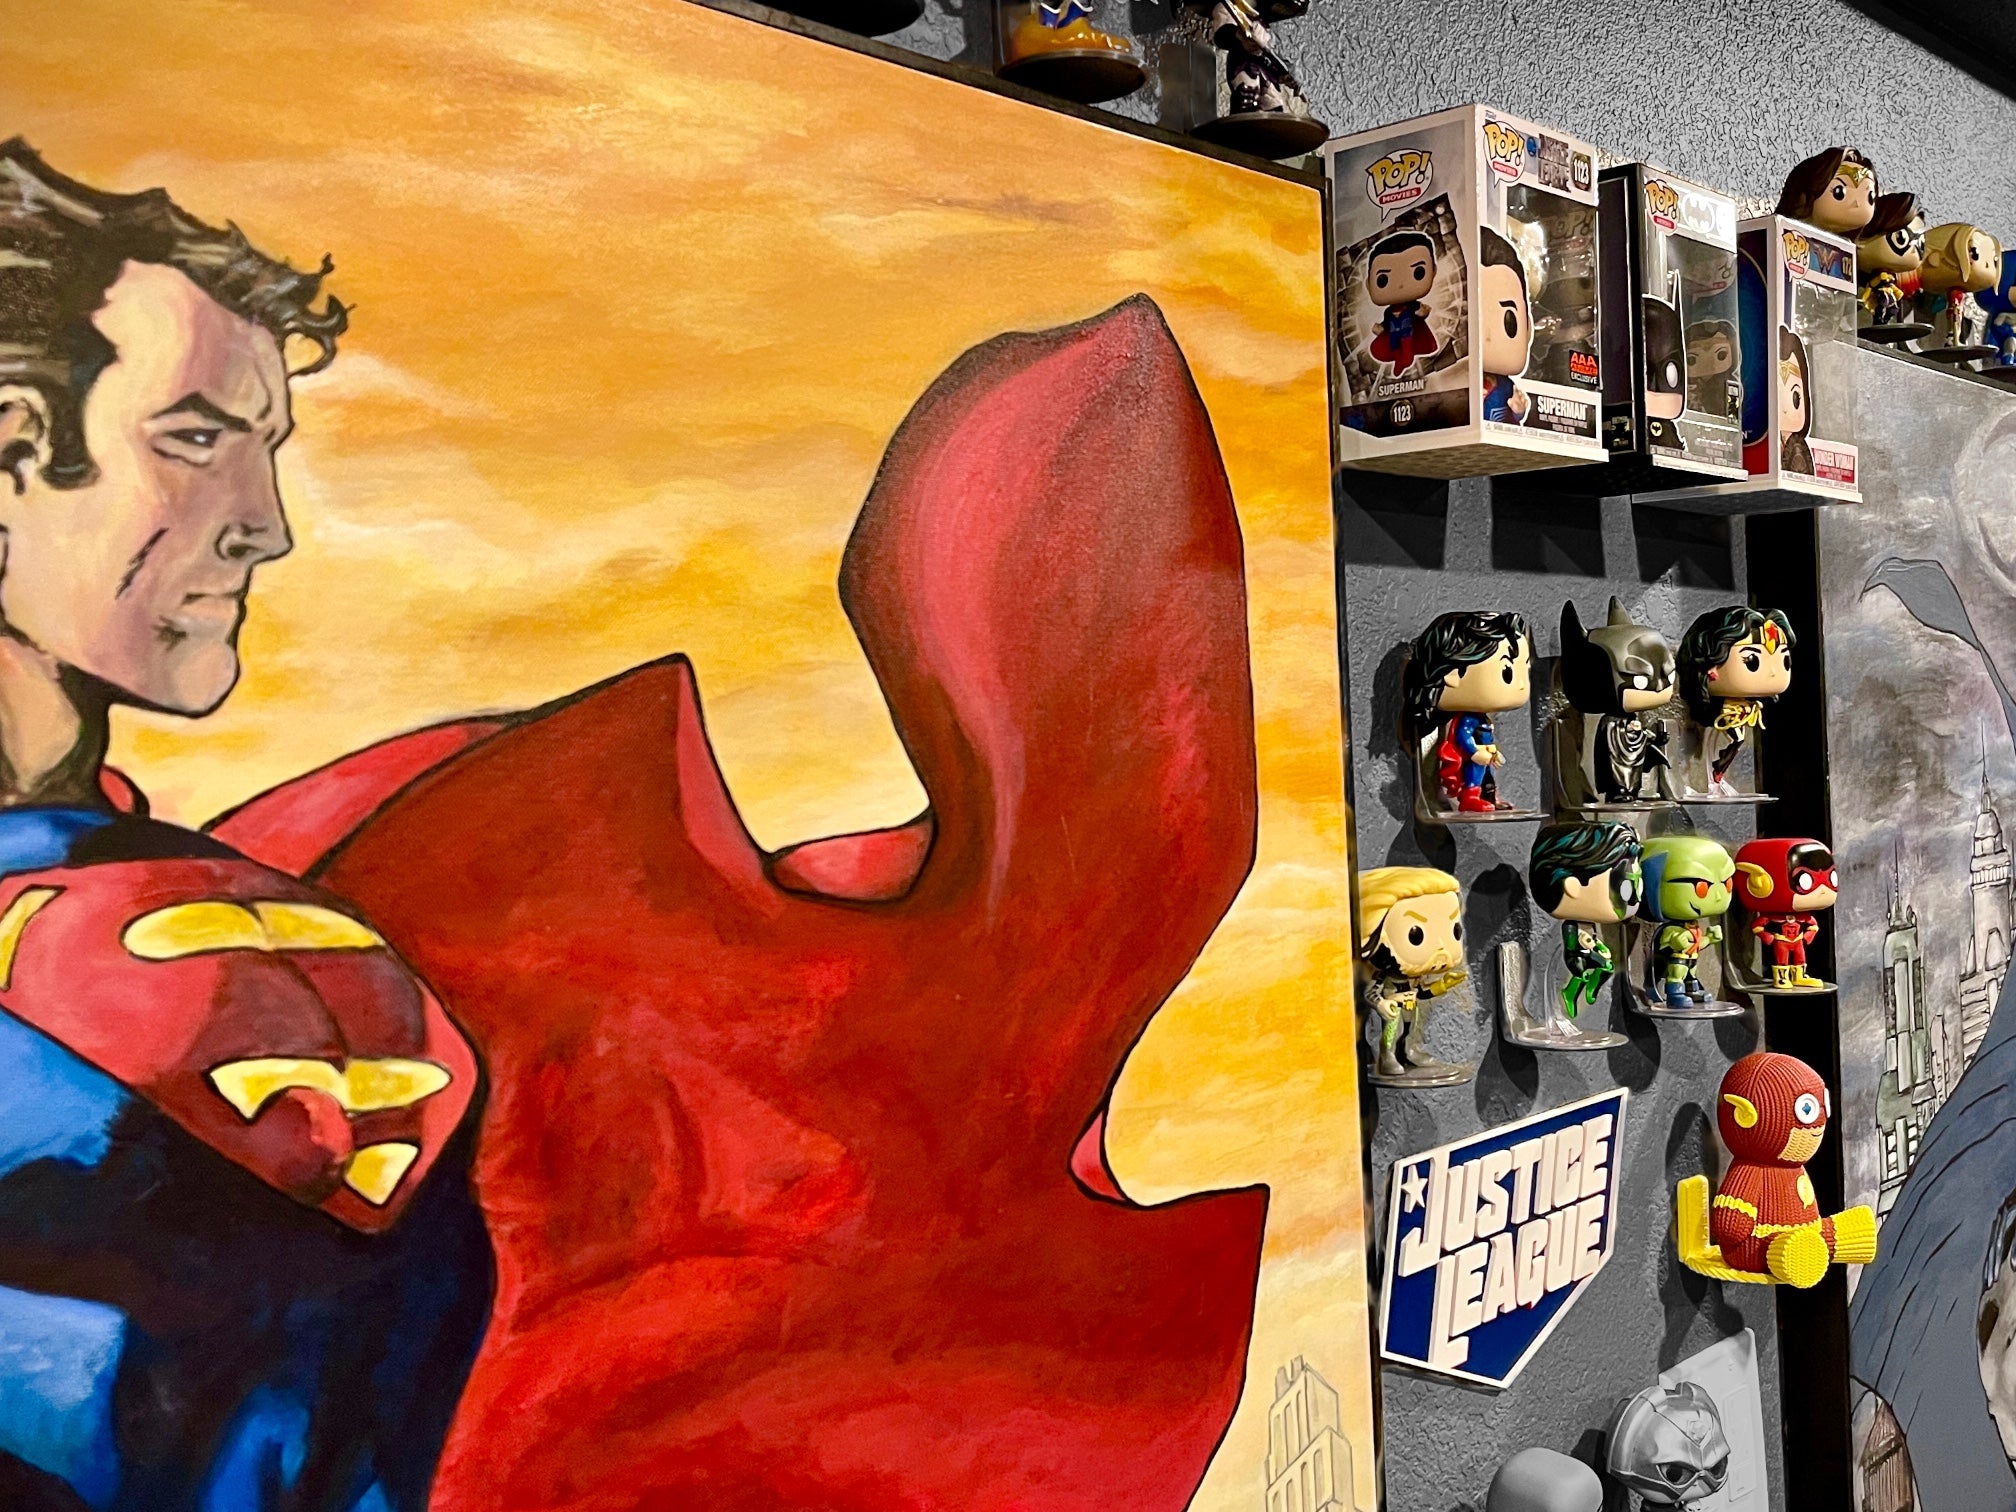
Displays for Funko Pop! Vinyl Collectibles
We offer a range of 3D-printed display solutions designed to showcase your prized...
-
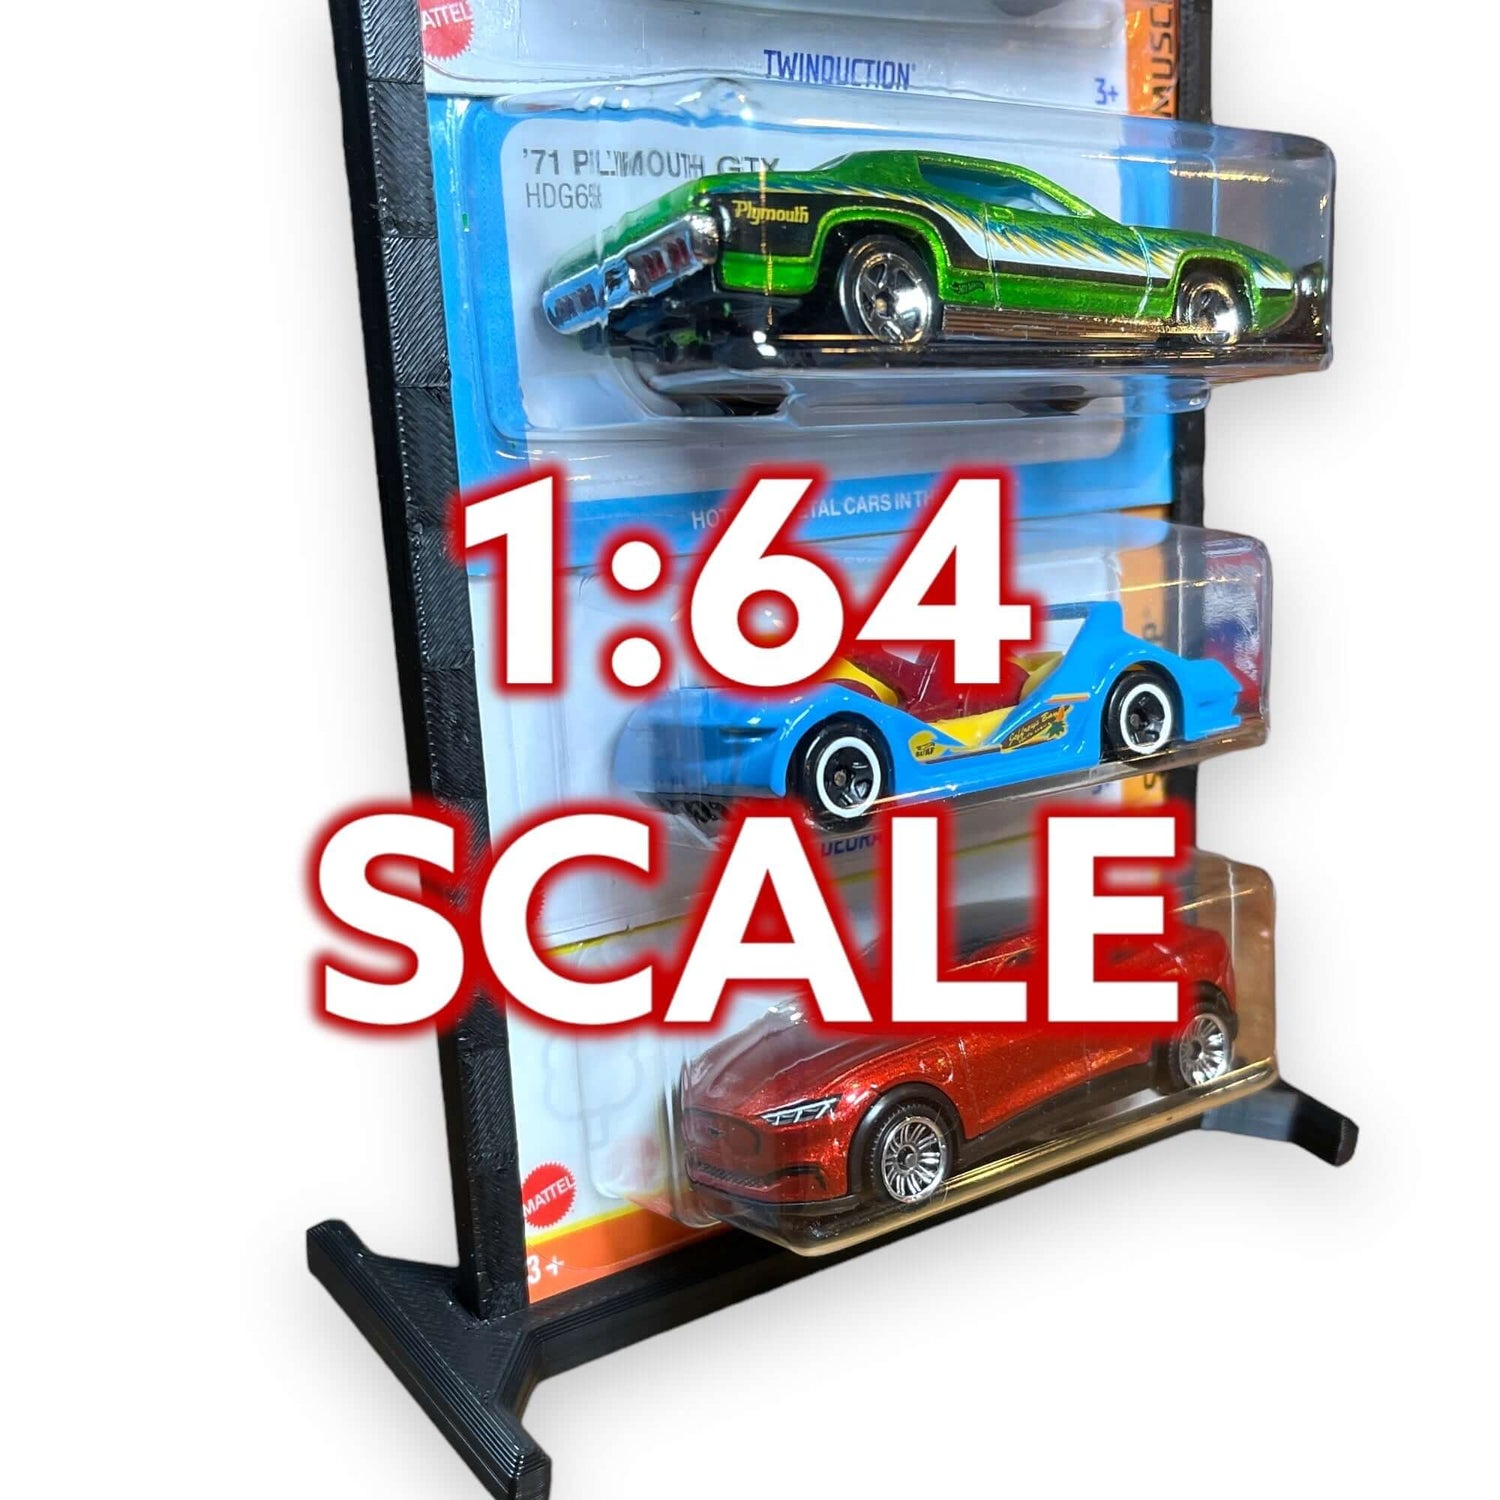
1:64 Scale Vehicle Displays
Introducing our collection of display solutions for 1:64 scale vehicles! Featuring 3D-printed stands and...
-
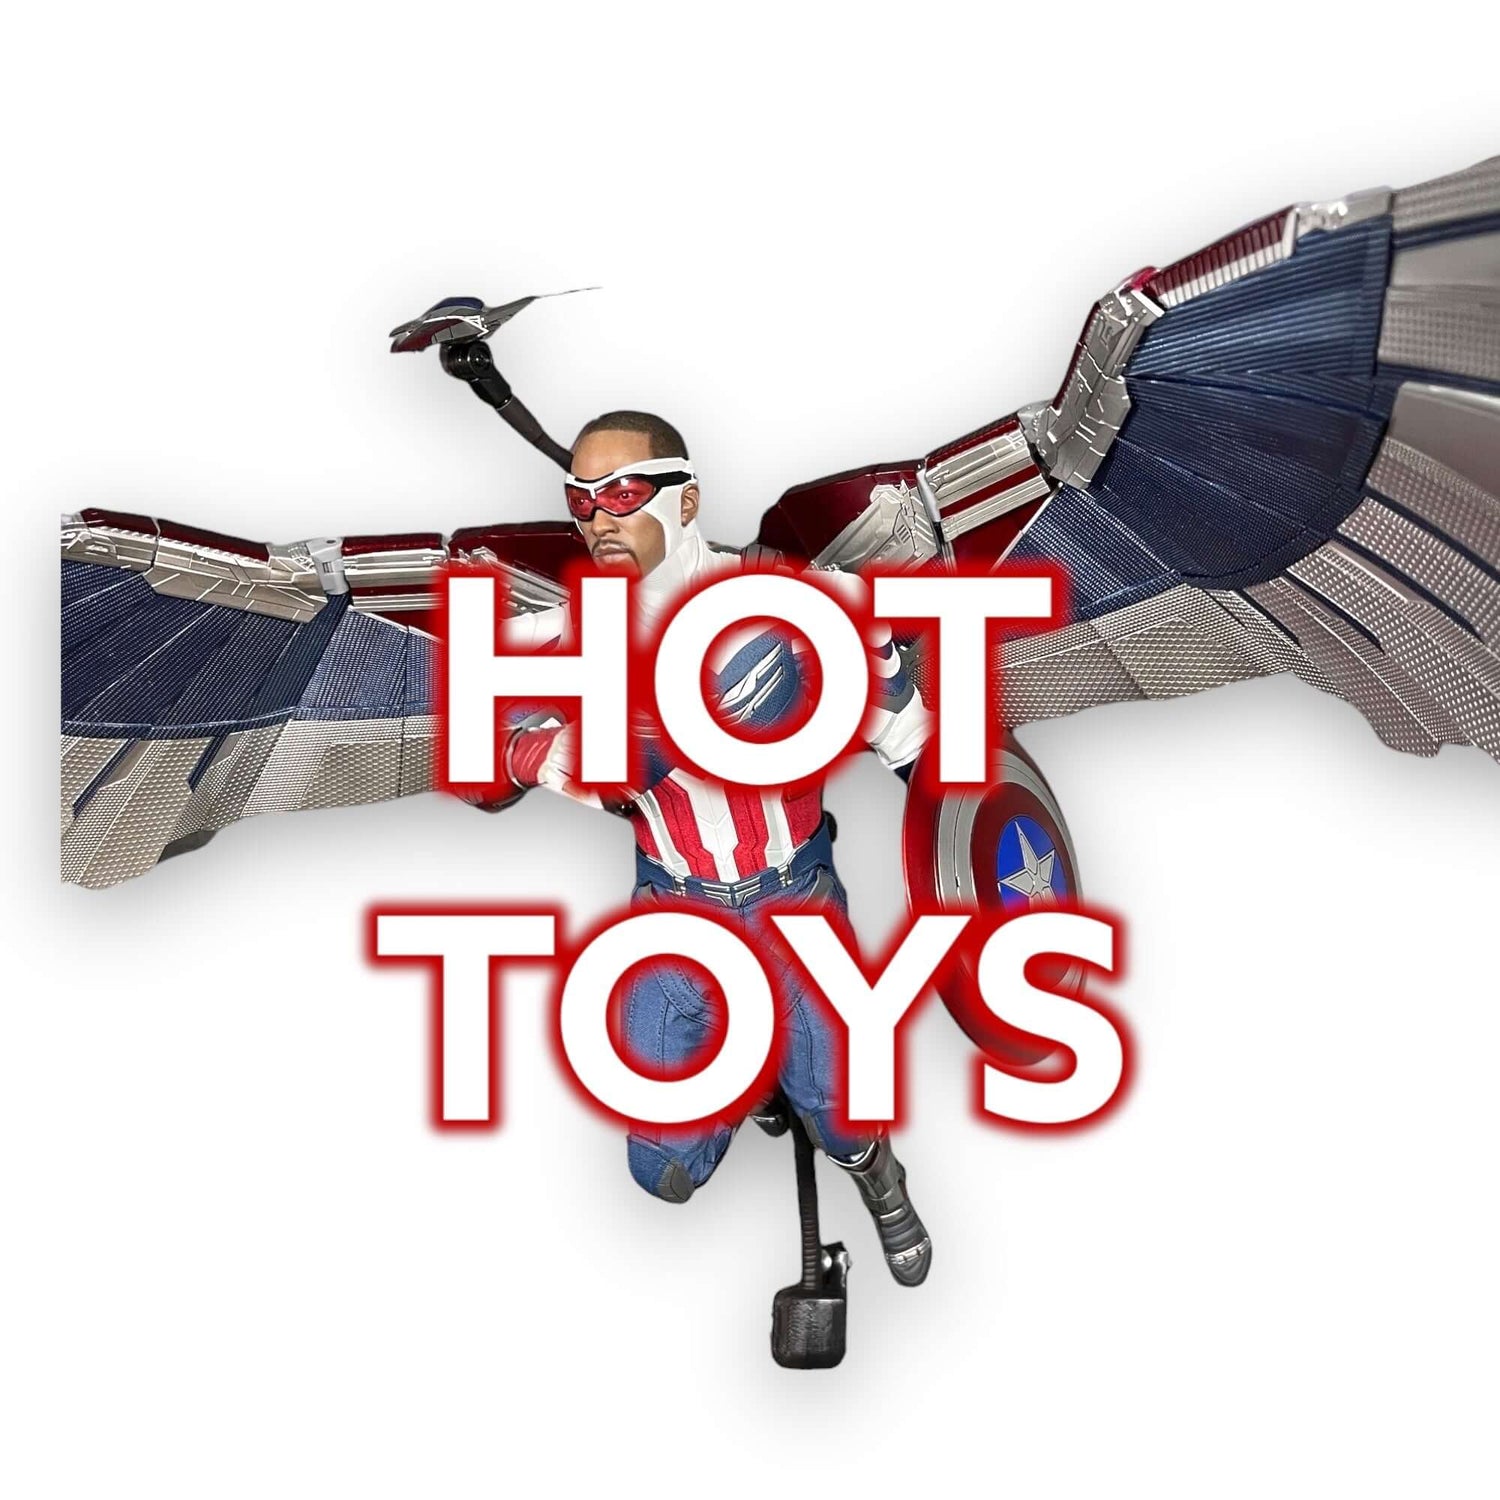
Displays for Hot Toys Sixth-Scale (1/6) Collectibles
Our 3D-printed display solutions specifically tailored for Hot Toys figures focus on...
-

Home Solutions
Optimize your home space with our 3D-printed solutions. Our products are designed...
-

Tech Organization
Get your tech life organized with our 3D-printed solutions. From custom stands for smart speakers to...


OUR STORY
Our family has turned SuperheroDIY into a combination of a love for superhero stuff and finding a DIY solution to everything we can. We're always finding a need for the perfect fix for this or that, whether it's around the house or a new idea from our customers and friends!
The solutions for collectibles, home, tools, toys, gadgets, gifts, and other great items you'll find here are all 3D-printed right here in Broomfield, Colorado.
-
WHY CHOOSE US?
We get excited about the products we make - and we use them too! From collecting fun stuff to organizing our home, we love this stuff too!
-
3D-PRINTED
Yep, we 3D-print all of our products! That means we're able to quickly make new designs to fit all kinds of different needs while ensuring quality & durabiliy.
-
COLORADO SMALL BUSINESS
Help to support a veteran-owned, USA small business! We're a husband/wife team and we stay pretty busy making quality products that you'll love!
Let customers speak for us

hkkmcblohf. jan jgddjn use uh ihff

Exactly what I needed! Came back to order more. Thank you!
Exactly what I needed! Came back to order more. Thank you!

Great lid and fits perfectly!

Great item, fast shipping. Thanks.

Great item, fast shipping. Thanks.

Cool item! Fits Funko Pops perfectly. Shipping was fast and item was as described. Sturdy and perfect. Even came with screws! Thank you.

Well made and useful item.
Perfect! These work great. I like that the material is flexible -- makes it easier to take on and off and still fits even if the can is a little larger or smaller. I ordered four and they all fit snuggly on Comet and Barkeepers Friend. Would recommend to anyone.

Awesome product! Great way to hang skates and gloves! 🏒

I love these shelves I just placed my second order and I already need a third! I always get asked where I get them because they’re so niche and unique. So happy I found super hero diy

These arrived quickly and were well printed. I appreciate the great packaging job. My last two print deliveries came with damage - but this shipper knows how to package. The items themselves are a finer resin than other sellers attesting to the workmanship of this crafter. Thanks great job.
Bought again. These work great!
The Funko pop little display shelves are exactly what I didn't know I needed. I have a lot of Funko pops and didn't know how to display them in a cute way. This mod the solution. Easy to use. Stick well. I will be ordering again.

I really love my Elliot and E.T. funko pop it’s one of my favorites and now with this mount I love it even more. Thank you so much for your work
INTERNATIONAL CUSTOMERS
Introducing the Superhero DIY eBay Store, your passport to a hassle-free international shopping experience! 🌐💫

Superhero DIY
Superhero DIY Gift Card
