Highly Modified / Upgraded Black Series Kylo Ren Helmet
As soon as I saw Star Wars: The Force Awakens in theaters, I was hooked on it! I’d never been that big of a Star Wars fan before, although of course I have seen all the movies more times than I can count. That doesn’t mean anything though – I’ve also seen Transformers: Age of Extinction – with it’s 18% rating – a few times too. Star Wars Episode VII was just a great movie! Maybe it is just the update that Star Wars needed for this generation? Either way, I thought the story, the acting, the effects, and certainly the costumes were something to appreciate!
Like most other fans of the film, I really liked Kylo Ren. The character wasn’t just one-sided and completely evil, level-headed, etc etc. He had range. The helmet, the black robes, and that awesome unstable lightsaber really did it for me. Of course that means I have to have the costume!
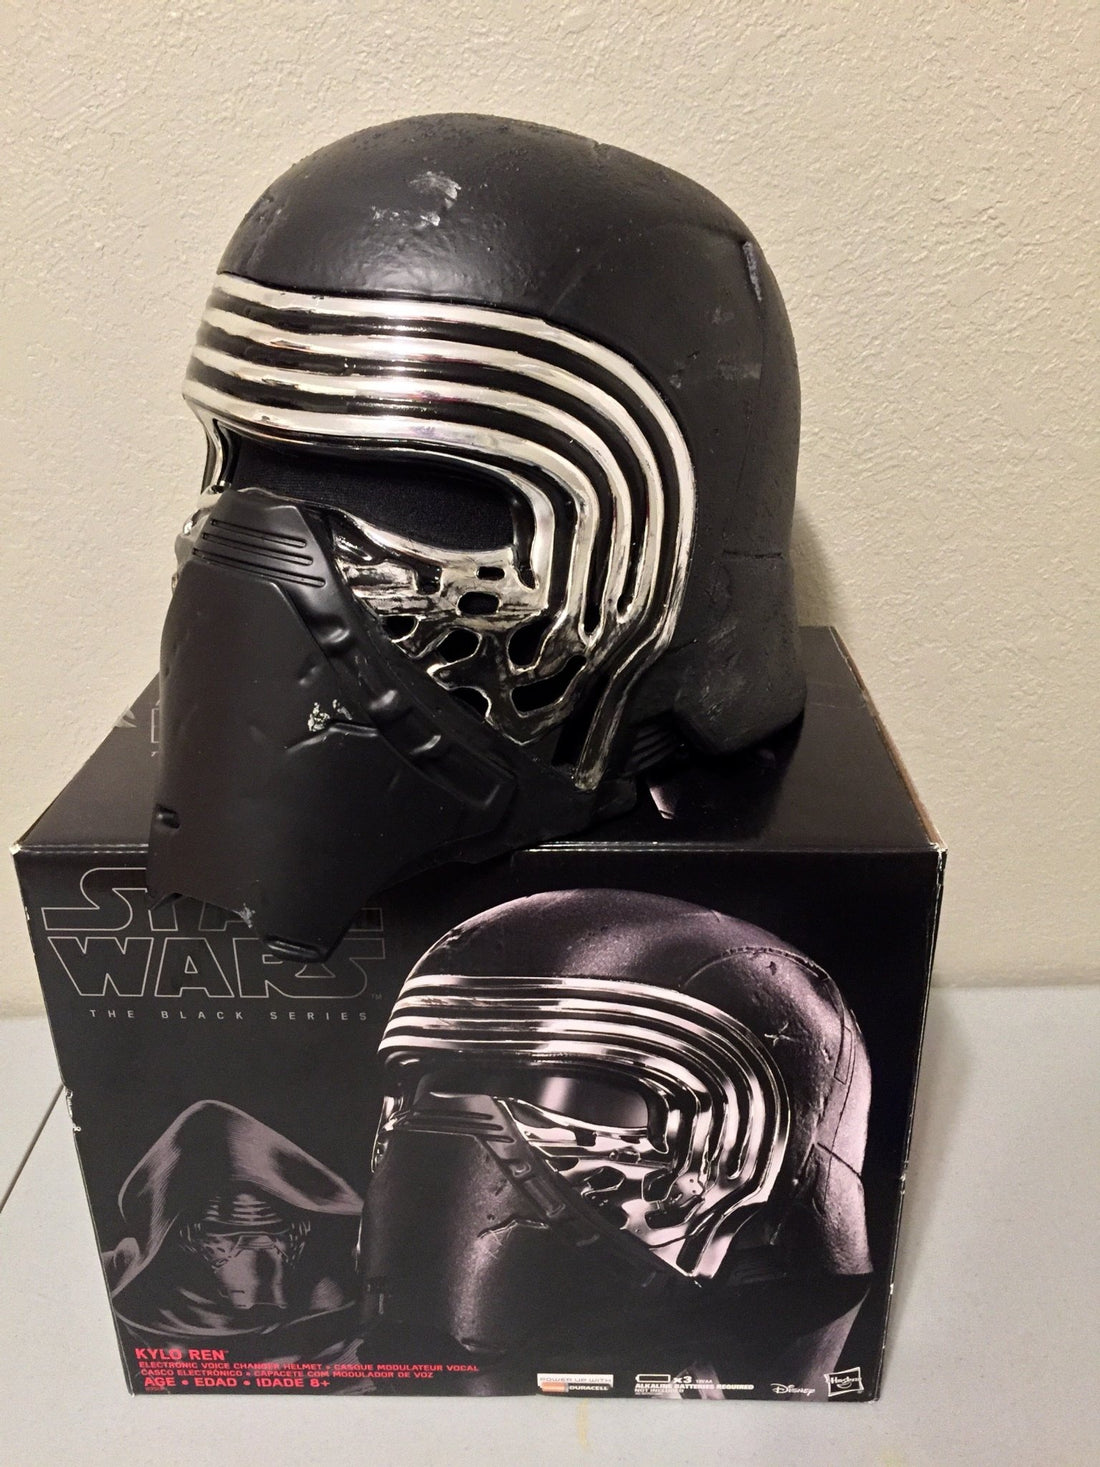
The first, and perhaps most important piece, was the Kylo Ren helmet. I saw online that the Black Series Kylo Ren helmet is both cheap and mostly accurate, so when I saw one available while shopping for Paw Patrol toys, I had to have it.

The helmet was great, but I did find that the voice changer was no good and needed some modification. Even after making changes to the voice changer, though, it still sounded like garbage – and I realized the whole helmet needed an overhaul.
After researching online and joining the Knights of Ren group on Facebook, I got started. To sum up about 2 months of work on the Kylo Ren helmet. Check it out!
Kylo Ren Helmet Build Steps:
- Removal
- Remove the voice changer from the helmet – ALL of it, but leave the battery holder.
- Remove the plastic visor.
- Remove the black plastic lining the cheek area.
- Remove chrome piece
- Plastic welding
- Buy a soldering iron.
- Plastic weld all main helmet pieces together (not chrome), including front, back, and battery holder.
- Cut off the front nose piece of mask.
- Reattach chrome piece.
- Buy a Disney mask, and somehow attach the nose mask piece to the front of the Black Series mask – I used plastic welding and loctite putty to fill the gaps.
- Chrome piece
- Dremel out cheek holes in chrome piece so they are more pronounced and flat
- Fill speaker holes on chrome piece with loctite putty
- Tape over chrome areas, re-paint black over speaker holes area
- Rebuild
- Fiberglass the inside of the helmet for rigidity
- Sand and bondo the outside of the helmet to fill cracks
- Paint outside of helmet in black of your choosing
- Add speaker mesh for visor to black plastic (mentioned in 1c) and remove plastic that is not specifically for visor area
- Reattach visor
- Add foam for cushioning and fit
-
Electronics
- Buy this voice changer
- Mount microphone under nose mask (like so)
- Buy these helmet fans
- Mount fans to inside of helmet and plug in to your portable cell phone charger
- Find the last Jedi.
Here’s a gallery of all that action, if you’re interested. Scroll to the last pictures to see the finished Kylo Ren helmet!
And of course if you're interested in the voice changer and how that turned out, here's the video:
Let me know what you think in the comments! Did you try this mod? How’d it go for you?