Paint a Captain America Shield; a how-to
So, you’re trying to paint a Captain America shield, eh? Yeah, I was too. I spent countless hours reviewing threads on Replica Prop Forum, specifically this one trying to get a step-by-step how to on the subject, with no avail. I even had a hard time finding which colors to use! 

Finally, another RPF member put together some instructions, but they were only halfway there and definitely hard to understand. I muddled through the process myself for my stealth shield, and came up with some instructions that are hopefully easy-to-follow and understand. The best color choices I’ve found are listed in the materials as well.
Of course before you get started, you’re going to need to procure a shield first! After that, just follow these recipe-like instructions to paint a Captain America shield up nice! By the time you’re done, I have no doubt you’ll be really glad you did.

Paint a Captain America Shield
Materials:
- 1 blank aluminum Captain America shield
- Masking tape OR Duplicolor Custom Wrap Removable Coating – Clear Coat # CWRC901
NOTE: If using the Duplicolor Custom Wrap Removable Coating – Clear Coat # CWRC901 to mask instead of tape, make sure to apply as many coats as possible. This REALLY helps when trying to remove the film later — the thicker it is, the easier it is to peel. Be careful!
- 1 qt acetone
- 1 can Dupli-Color Adhesion Promoter, code #CP199
- 1 can Dupli-Color Metal Cast Ground Coat #MC100
- 1 spray-can of Dupli-Color Blue Metal Cast Paint #MC201
For classic red & blue:
- 1 spray-can of Dupli-Color Metal Cast Paint, code #MC200
For stealth shield
- 1 spray-can of Dupli-Color Perfect Match Light Blue to match GM colors #BGM0539
- 1 spray-can of Dupli-Color Clear Coat Matte #D1693 (to remove shine)
1 Exacto knife
1 roll of paper towels
Painting Around the Star
- Wash the entire front of the shield with acetone
- Mask off the entire front of the shield
- Using your Exacto knife, cut along the lines of the star
- Remove the masking from outside the star (leaving the star and rest of the shield masked off)
- Clean the area with acetone, let dry
- Paint area with the Adhesion Promoter following instructions on can (3 coats)

- Paint area with the Ground Coat following instructions on can (3 coats)
- Paint area with blue Dupli-Color Metal Cast Paint, code #MC201 (2 light coats, 1 wet)

- Let blue paint dry for at least 24 hours before moving to next steps, to be safe.

NOTE: If your star is already attached to the shield, you’ll need to re-mask the whole star area before moving forward. Yes, that includes the area you just painted – which is why you need to give it ample time to dry!
Painting the Shield Stripes
- Using your Exacto knife, cut along the lines of the stripes: remove the masking from only the outermost stripe and the innermost stripe, leaving masking over the “middle” stripe
- Clean the area with acetone, let dry
- Paint area with the Adhesion Promoter, then let dry 5-10 minutes (3 coats)
- Paint area with the Ground Coat following instructions on can (3 coats)
- Choose your style:
- FOR CLASSIC RED & BLUE: Paint area with red Dupli-Color Metal Cast Paint #MC200 (2 light coats, 1 wet coat)
- FOR STEALTH SHIELD: Paint area with Perfect Match Light Blue to match GM colors #BGM0539 (2 light coats, 1 wet coat)
- Let paint dry until tacky
- If you can cut again along the lines of the stripes, carefully peel the masking tape and remove the rest
- Let dry for at least 2 hours, up to 7 days. I let mine sit for 7 days to be safe.
- Choose your style:
- FOR CLASSIC RED & BLUE: To seal in the color and protect (while adding shine), follow with Clear Coat Gloss, several coats until desired look is achieved.
- FOR STEALTH SHIELD: If you’d like to remove any shine, follow with Clear Coat Matte #D1693, several coats until desired look is achieved.
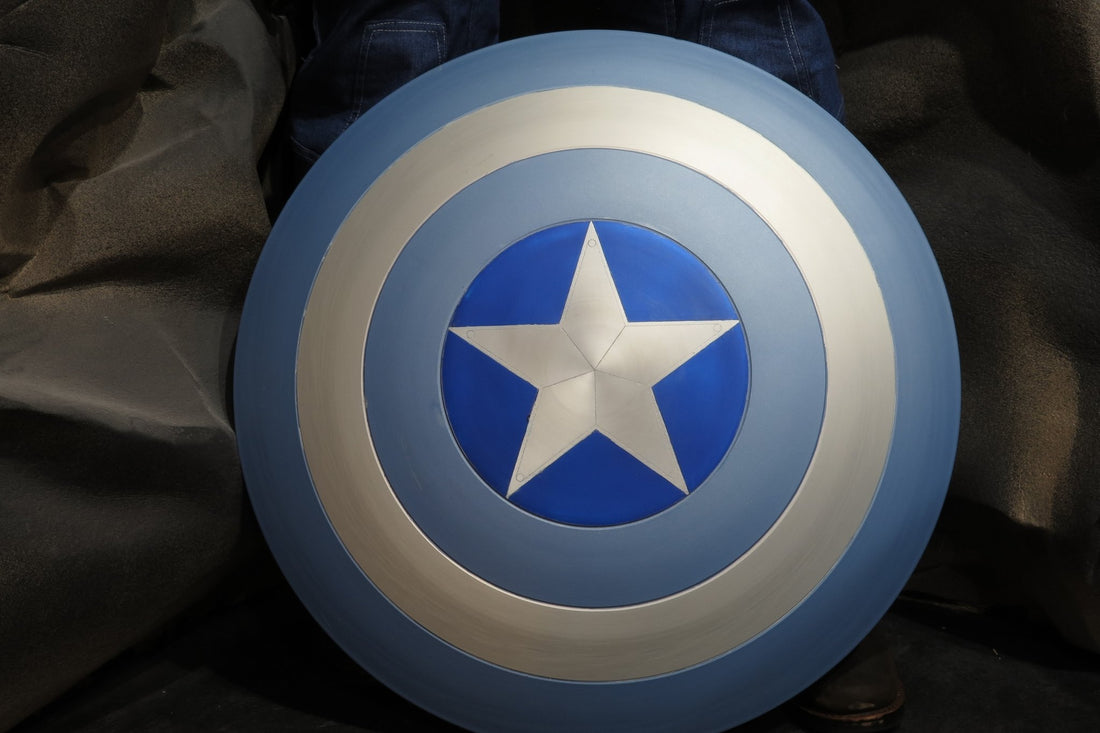
Hopefully you end up with something like this:
So, how’d it turn out? Definitely let me know in the comments, I’d love to hear and see pics!
